Many of you are probably already familiar with Influenster, the online community of bloggers and other social media mavens. They recently provide me with their J’Adore VoxBox of samples for my honest review. So, what was in my J’Adore VoxBox? Read on to find out!
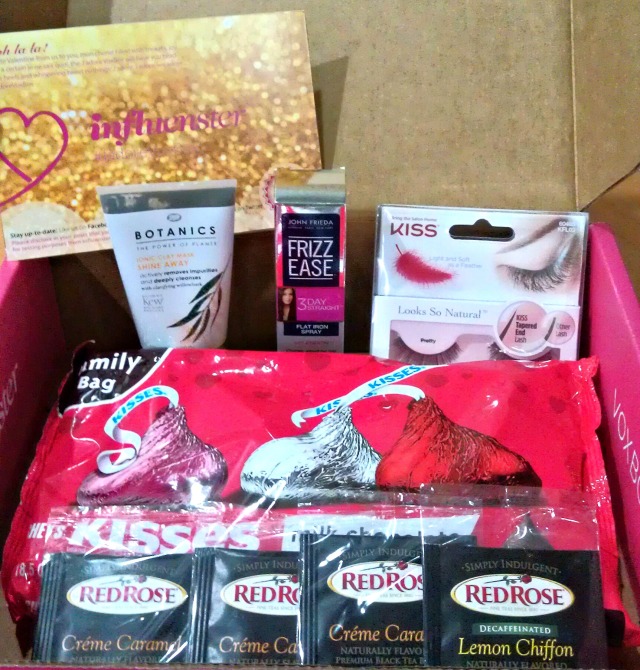
Boots Botanics Shine Away Ionic Clay Mask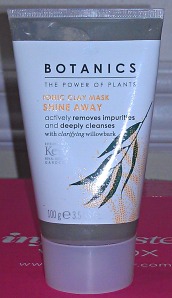
I have incredibly oily skin (I really could probably win a contest), so I am the perfect gal to test out the Boots Botanics Shine Away Ionic Clay Mask. And this one did not disappoint. I used this after cleansing my skin in the evening, and it applied easily. I was a little concerned that would be too runny based on the look of the product in the tube, but my impressions were off the mark, as it applied so evenly and easily. After leaving it on for 15 minutes, I rinsed it off and noticed that my skin’s oily sheen was definitely gone. My greasy girls out there know, however, that the real test was how my skin looked the next morning. My skin is normally incredibly oily when I wake up in the morning, but when I woke up the next day after using this, I actually stopped in front the mirror as I was stumbling out of bed in a stupor and thought, “Wow, my skin looks really good this morning.” I leaned in closer and noticed that it was nowhere near as oily as usual. Then I remembered, “Oh, yeah, I used that Boots mask last night!” I’m honestly thrilled with this product. If it can make my skin less oily, it really can help anyone.
HERSHEY’S KISSES® Milk Chocolates
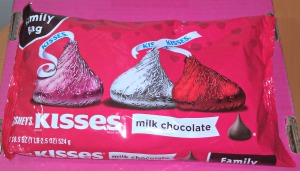 I do love chocolate, and it is usually the ‘candy’ item I will allow myself to eat from time to time. That being said, I hadn’t had HERSHEY’S KISSES® in quite some time when I received a bag of them in the J’Adore VoxBox. How have I gone so long without these in my life? The milk chocolate in the HERSHEY’S KISSES® just melted in my mouth. I can feel my mouth starting to water now just thinking about how delicious they are. When I do eat chocolate, I usually buy more expensive, high-end brands, but now I can’t imagine why. HERSHEY’S KISSES® are delicious and have that same smooth and sultry quality of high-end chocolates, but at a much more affordable price. And they included a recipe for peanut butter blossom cookies on the bag! I used to live for those when I was a kid. I can’t wait to make some (if I don’t eat the whole bag before I get the chance). I know I will be purchasing these again.
Frizz Ease® 3-Day Straight™ Flat Iron Spray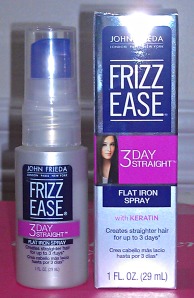
My hair has always been fine and frizzy, and it is even more so now that it is starting to go grey. I have hair that is neither straight nor curly; it’s somewhere in-between and what a hair stylist once referred to as having ‘wacky wave.’ When I style my hair I usually use a blow dryer to straighten it, then go back over it with a flat iron, and it usually still isn’t completely straight, especially around my face, where the frizz has taken up permanent residence. I’m always trying new products to see if something will make my hair, well, less like my hair, so I was eager to try the Frizz Ease® 3-Day Straight™ Flat Iron Spray. This product definitely worked for me. I sprayed it on my clean, damp hair just as the directions instructed. Then I dried my hair straight, and I definitely noticed that it looked silkier than normal. I followed this up by flat-ironing the sections around my face that will practically never lie flat outside the walls of a salon, and my hair was actually straight and sleek all day! Because my hair is so fine, I’m not able to go 3 days in between washes, but I did wear this straightened style for a second day, and it was still smooth and straight the second day as well. I’m so glad I was offered this product to try! I’ll definitely be using it again.
KISS Looks So Natural Lashes
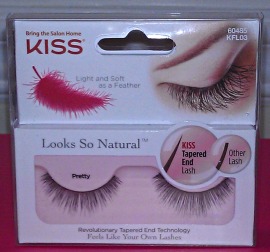
I don’t often go through the effort of putting on false lashes. I think they’re one of those things you have to wear a few times to get used to, and the first few times you wear them you just have to push through feeling a little uncomfortable and fearing that you look bad in order to get to your happy place with them, like hats and wigs. That said, KISS Looks So Natural Lashes really are a great starter set of false lashes, because they really do have a natural look that isn’t over the top. They are quite long, but they are more on the wispy side, rather than the full-on baby spider legs look that some false lashes can have. They use what they call ‘Tapered End Technology’ to make them blend more easily with your own lashes, and this technology really does make the false lashes look and feel more like one’s natural lashes. I don’t think I’ll be wearing false lashes any more often now that I’ve tried these, but I would definitely wear these on a special occasion and not feel self-conscious about them.
Red Rose Simply Indulgent Teas
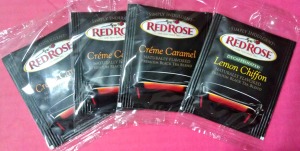 I love tea. I gave up caffeine a couple of years ago, and I now drink herbal tea every morning. One of the teas sent to me was the Red Rose decaffeinated Lemon Chiffon black tea. First of all, this tea smells divine. It has a strong base of black tea, but it also smells of creamy, lemony goodness. It made me so excited when I opened it. And the flavor of the tea did not disappoint. It has that richness that characterizes black tea, but it also has a lightness from the lemon flavor, and the two blend so well. I really love lemon tea (and pretty much all flavors of tea, really), so this was right up my alley.
Overall I had a great experience with my first Influenster VoxBox! I’m definitely a fan of the products that were included. Have you tried any of these products? What did you think?
These products were provided to me by Influenster for my honest review.