GOT Polish Challenge: Flowers with Sally Hansen Hard As Nails Xtreme Wear in Wet Cement and L.A. Colors Color Craze Minis

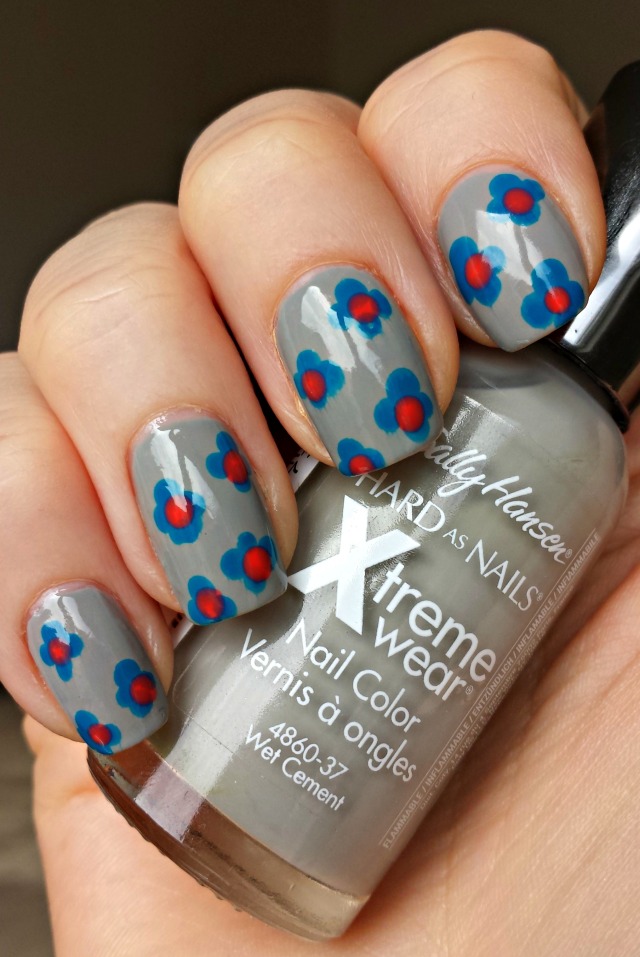
This week’s theme for the Golden Oldie Thursday Challenge is flowers.  I wasn’t too inspired by this theme at first, mostly because the ideas I had seemed like they would take forever to do and I just have practically no free time anymore.  I finally realized that I could do a simple flower mani using a dotting tool as I’ve seen so many other bloggers do.  That made me feel much better about tackling this challenge!  I still had to do the mani over a couple of days, but I did it.

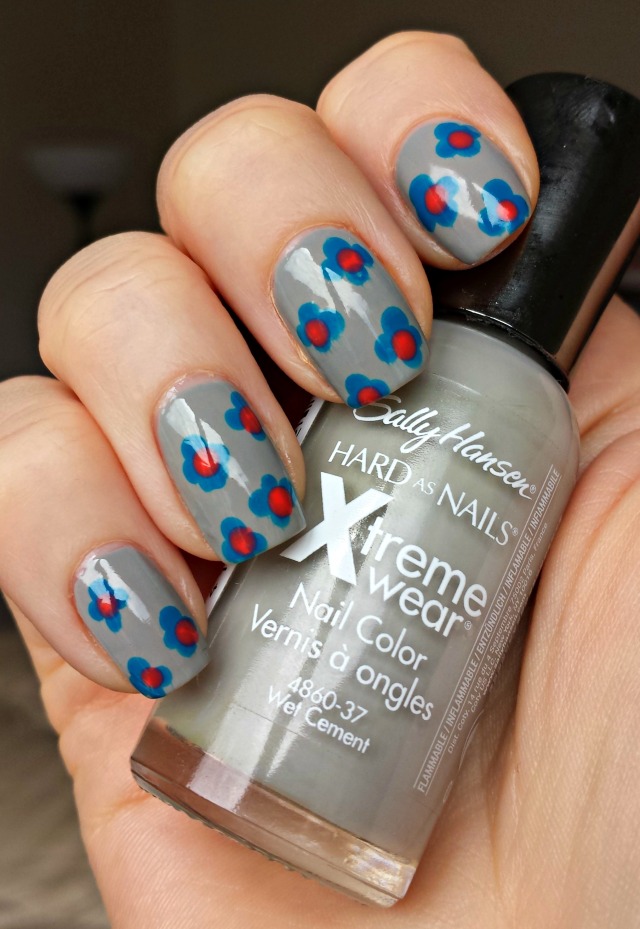
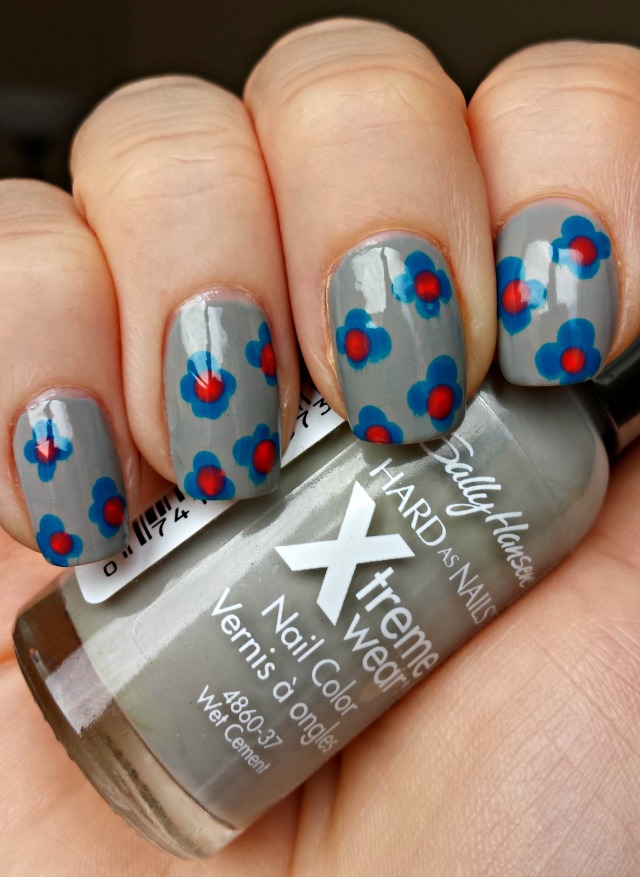
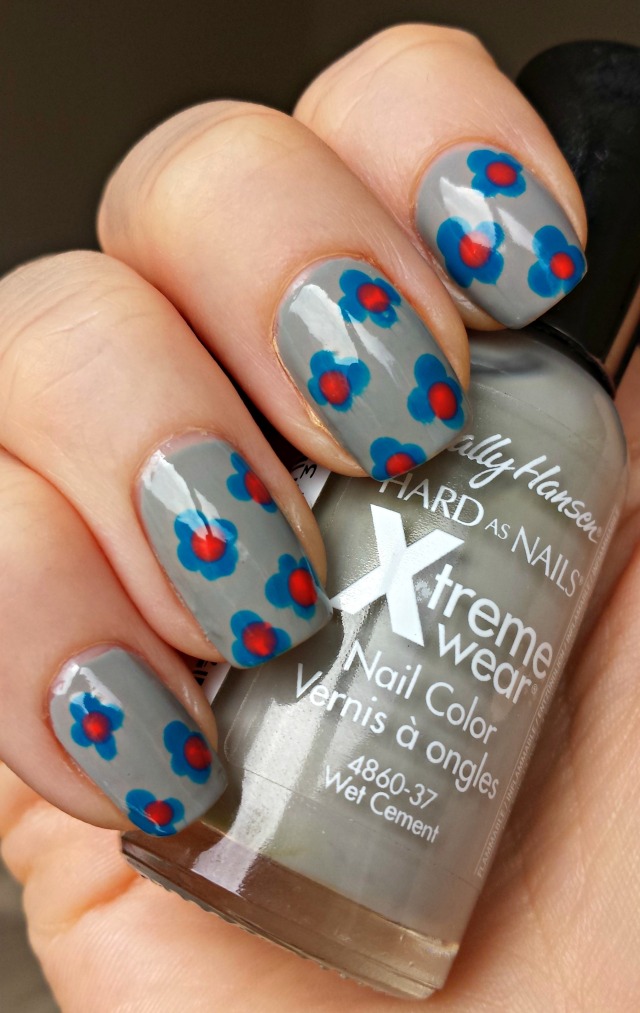
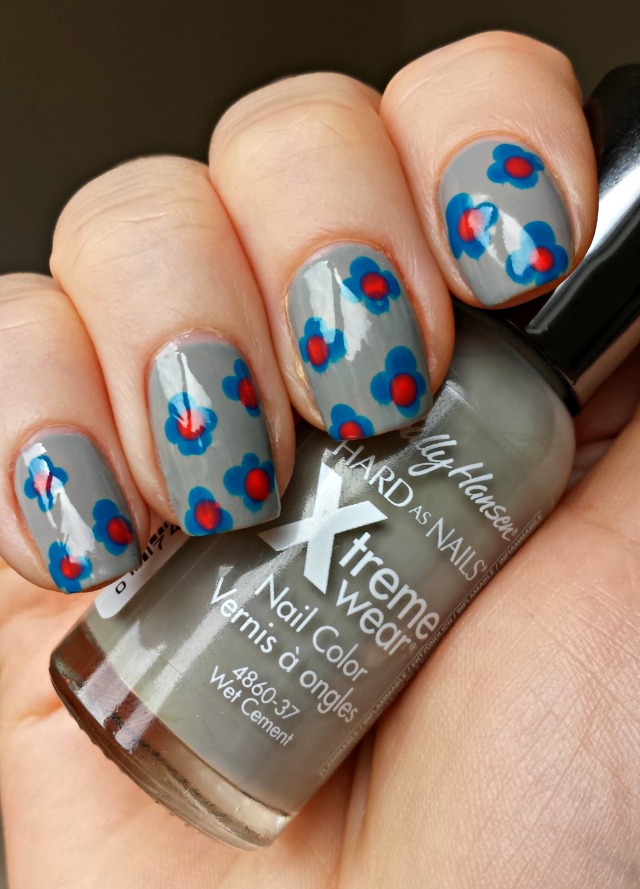
I used Sally Hansen Hard As Nails Xtreme Wear in the color Wet Cement as the base color for this mani.  This color is a medium, cool-toned grey shade that works well as a neutral base for nail art.  Although I like the color, the application of this one wasn’t great, probably due to its age.  It took forever to dry, and I ended up with sheet marks in it even after letting it dry for a few hours before going to bed.  These seem to have evened out somewhat with the top coat, but it still took too long to dry IMO.  I used two coats of it as the base for this mani.

To add the watercolor flower look, I used two L.A. Colors Color Craze mini polishes that I’ve had for a few years.  I know I bought them in a set of mini polishes, but the shade names aren’t on the bottles so I’m not sure what they’re called.  One is a bright medium blue shade and the other is a vivid pink shade.  These had a thinner consistency that I would normally use with a dotting tool, but I kind of like the somewhat watery, almost painting-like it effect it gave the flowers, so I think it worked out in the end.  I used my normal base and top coats for this mani as well.  The top coat did end up smearing the flowers a little in some places, but that is mostly because I wasn’t patient enough to wait until they had completely dried before I applied it.  The streaks are not really visible to the naked eye, so I’m not sweating them.

GOT Polish Flower Mani

GOT Polish Flower Mani

GOT Polish Flower Mani

GOT Polish Flower Mani

GOT Polish Flower Mani

Have you ever used this simple technique to create a flower mani?  I like how it turned out.

I purchased Sally Hansen Hard As Nails Xtreme Wear in Wet Cement a couple of years ago from a drugstore for somewhere around $1.50.  I purchased the L.A. Colors Color Craze minis a few years ago from Cherry Culture.  I’m really not sure how much I paid for them, but the brand is generally inexpensive.

Sally Hansen Salon Insta-Gel Strips in Perfect Poison Review

The main appeal of gel manicures is that they are quite long-wearing, and, as someone who changes her nail polish every other day, long-wearing polish is not something I focus on that much.  I love trying new things, though, so I purchased a set of the Sally Hansen Insta-Gel Strips a few months ago, figuring I’d eventually find an occasion to wear them.  Since I was traveling over the past week and knew I would not have time to do my nails, I figured it was the perfect time to test out the Insta-Gel Strips to see if they wear as long as they promise (the packaging claims they can last up to 14 days).

The application of these strips is a little more complicated than normal nail polish strips, but it is no more complicated than the process for a normal gel manicure.  Starting with clean, dry nails, one first applies the nail polish strips to the nails in the same manner that other polish strips are applied.  After the polish strips are applied to all nails, the included gel top coat is applied over the strips, which should be done one nail at a time.  After painting each nail with the top coat, it must be cured under a UV lamp (which is provided in the Insta-Gel Strips Starter Kit).  This curing only takes 30 seconds per nail.  After this process is finished, each nail is wiped with an alcohol pad to remove any excess top coat, and the process is finished!  It really does not take much longer than applying regular nail polish strips, especially if you prefer to use top coat with them (sometimes I do, sometimes I don’t).

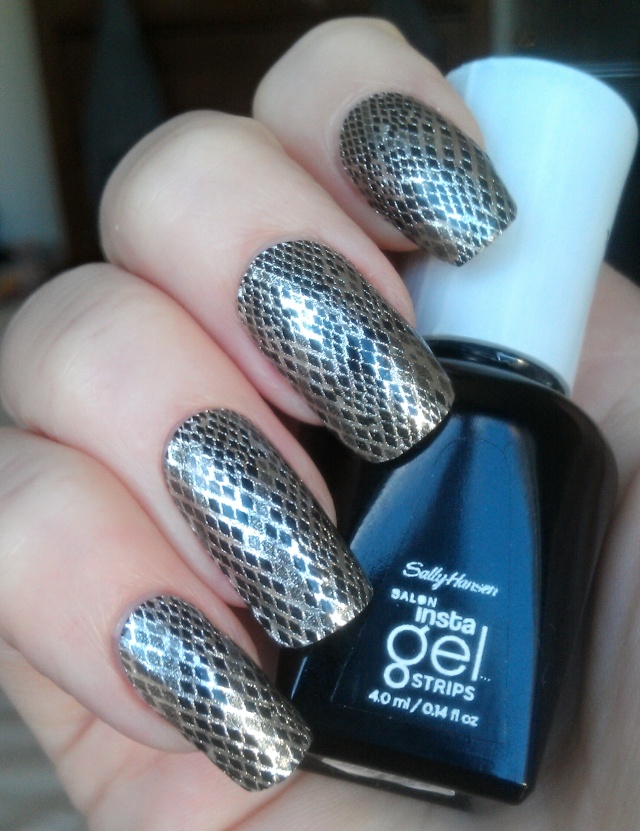
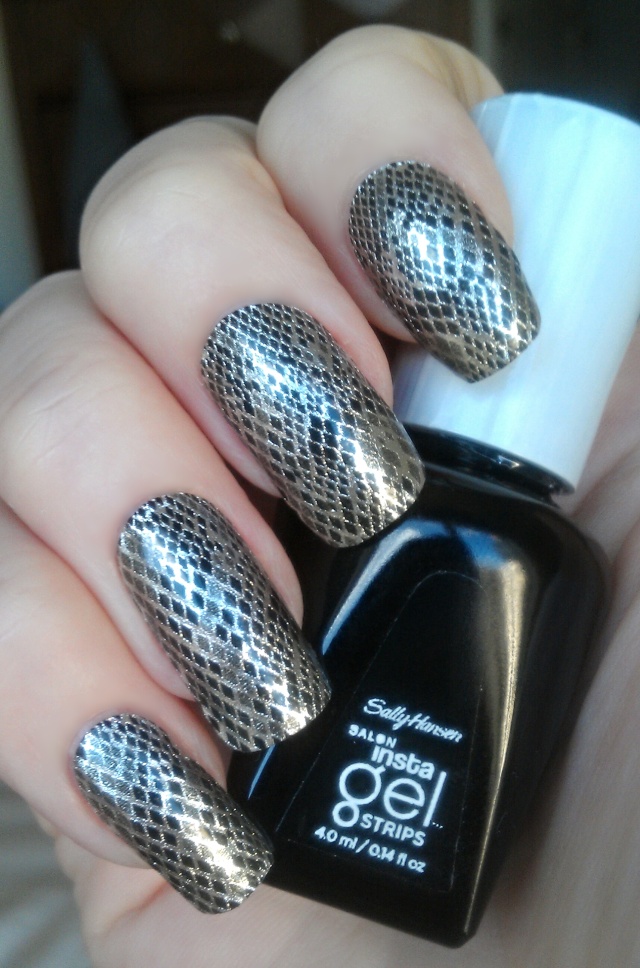
The strips themselves are very similar to Sally Hansen’s non-gel nail polish strip product, but they did feel a trice thicker to me.  The thickness of all of these strips varies by brand and design, it’s true; the design I used for this manicure was a metallic snakeskin print design called Perfect Poison.  I’ve used metallic nail polish strips in Sally Hansen’s normal range before, and they are usually on the thin side and somewhat easy to tear.  The gel strips did seem slightly thicker to me and not quite as delicate as the regular ones.

These first two pictures were taken right after I applied the strips.

Sally Hansen Perfect Poison

Sally Hansen Perfect Poison

I think they turned out nice, don’t you?  I received some compliments on my nails while wearing these, so other people liked them, too. 🙂

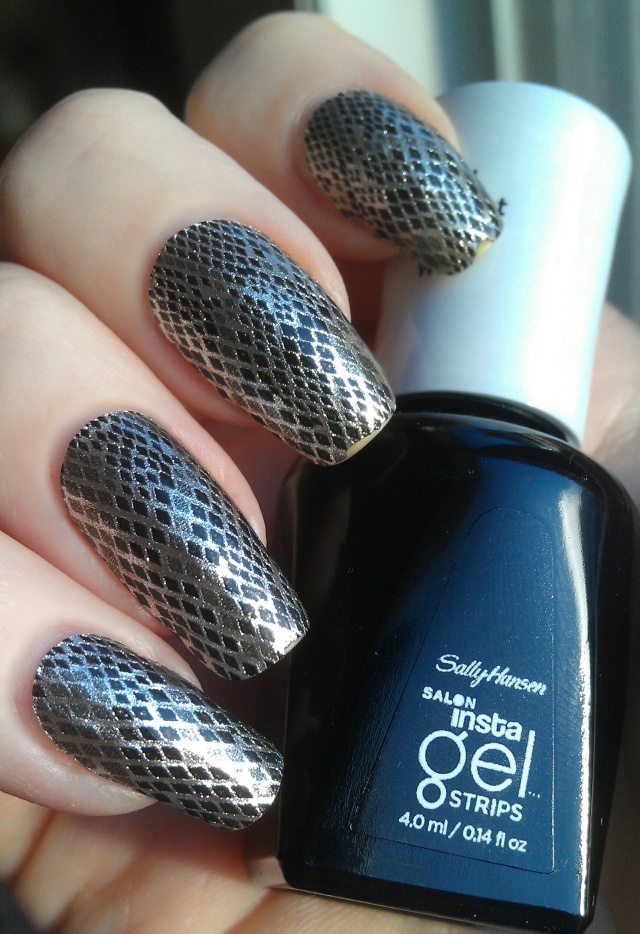
The real question, though, is “How long did they wear?”  Right?  I ended up wearing these for 6 days (which is an eternity for me).  At the end of that time, about half of the strips were showing tip wear, and half still looked relatively pristine.  One of my thumb nails had a larger chip, but that happened when I banged it on the edge of a table, which may not happen to every wearer.  :-p  The photo below shows the strips on Day 6.

Sally Hansen Perfect Poison after 6 days

You’ll see that my index and middle finger show tip wear, but my ring finger and pinky still look pretty good.

The verdict?  I think these strips are a good option for someone who prefers not to do their nails very often (I hear they’re out there), or for someone who knows they will be too busy to do them for several days.  In order to get the best wear, it’s important to cover the edges of the strips completely with the gel top coat.  I paid particular attention to the free edges of my nails when applying the top coat (which is recommended in the instructions), yet this is where all of the wear and tear took place on the strips.  I imagine that, had I not spent so much time covering the edges with top coat, they may have chipped even sooner.  And, while I think that 6 days is a decent wear time for a mani, I can’t imagine these lasting for the 14 days claimed by the packaging.

That being said, I’ve had similar wear results with normal nail polish strips from other brands; I wore a set of regular strips from another brand with Seche top coat for 5 days once, and there were no chips at all when I finally took them off.  So I’d say these aren’t a necessary purchase unless you can get them on sale (like I did) or you just love trying new things (like I do).  In that case, definitely give them a try!  They worked out pretty well for me. 🙂

I purchased these strips from CVS with some ExtraBucks when they were on sale; they normally retail for around $14.00 for a set of the strips themselves (which also comes with the gel top coat) and around $25.00 for the starter kit (which includes a set of strips, the top coat, and the UV light).  Drugstores are always having sales on Sally Hansen products, though, so it’s worth waiting for one to purchase these.